Anything Goes July 2019 - Brutus Monroe Inspiration Team Blog Hop
Hello crafty friends, thanks for stopping by my blog. Today for our blog hop day, I have a fun interactive card to share with you, using two of the newer stamp sets from Brutus Monroe.
To make this card, I followed a tutorial for the basic shape by Jennifer McGuire. You can find the video here: https://www.youtube.com/watch?v=swv8AquXd1E&t=418s
I used Midnight cardstock for the base, which is a lovely dark blue shade, and Gilded glitterstock for the inner gold oval layer. To make the cloud background, I first heat embossed the "Spiral Cloud" background stamp with Gilded EP onto aqua pigment paper. I mixed Blue and Black aqua pigments together to make a dark blue shade and painted several layers onto the panel. The gold heat embossing acts as a resist for the aqua pigments. I trimmed that panel down after drying it and adhered it to the back panel of the Midnight cardstock.
Then, I heat embossed two of the butterflies from the "Take Flight" stamp set onto aqua pigment paper, also using Gilded EP. I painted the open spaces with Yellow and Pink aqua pigments, mixing them where they meet to also create an orange-y shade. I fussy cut the butterflies and adhered each one to a strip of sturdy clear plastic (the kind used for shaker windows). I sandwiched the plastic strips from the butterflies between the side folds (see Jennifer McGuire's video for clarification) and assembled the front and back card panels. I also stuck piece of foam tape to the back of the butterflies, but I did not remove the tape from the side that touches the back of the card, so that the butterflies still appear popped out when they are at rest, but still move freely when you move the card flaps.
I then heat embossed the "enjoy" sentiment onto vellum with Gilded EP, and glued the strip across the middle of the oval opening. I heat embossed "your big day" onto Midnight cardstock with Gilded EP and trimmed it down to a tiny banner shape, and popped it up with foam tape. I glued some gold jewels to the front to finish it off. Watch the clip below to see how the butterflies move when you move the side flaps!
Thanks so much for stopping by my blog! Be sure to check out the rest of the team's cool creations, along with our fabulous guest designed Jessica Shier!
Next, hop on over to Luisana's blog so see her awesome project.
LAUREN (you are here)
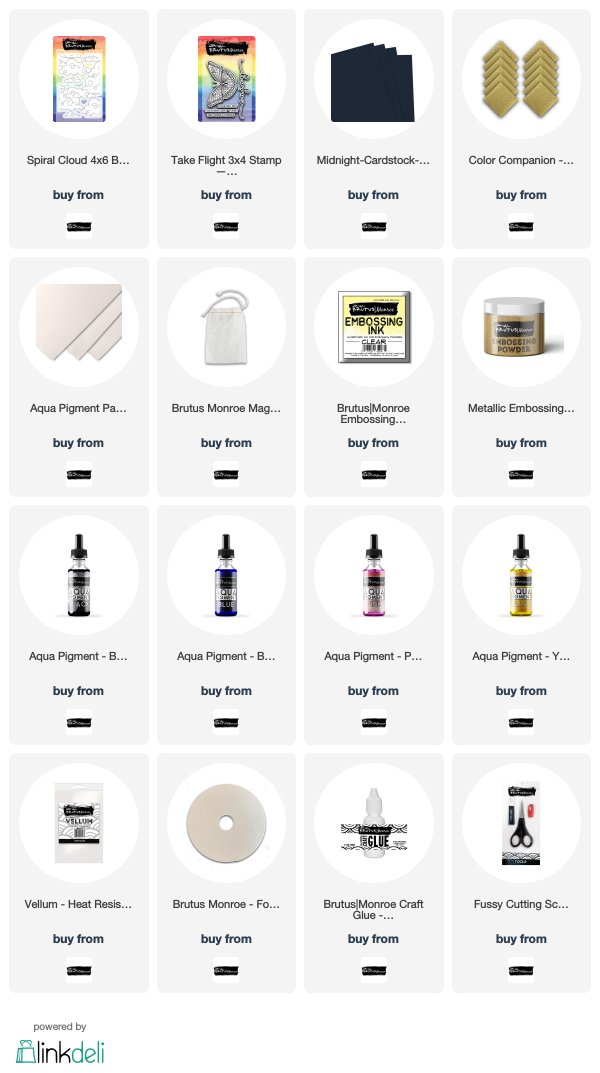
SUPPLIES: (Affiliate links are used)


Wow! This is gorgeous! What a really cool interactive design! Love the shimmrey butterflies!!
ReplyDeleteVery elegant card!
ReplyDelete